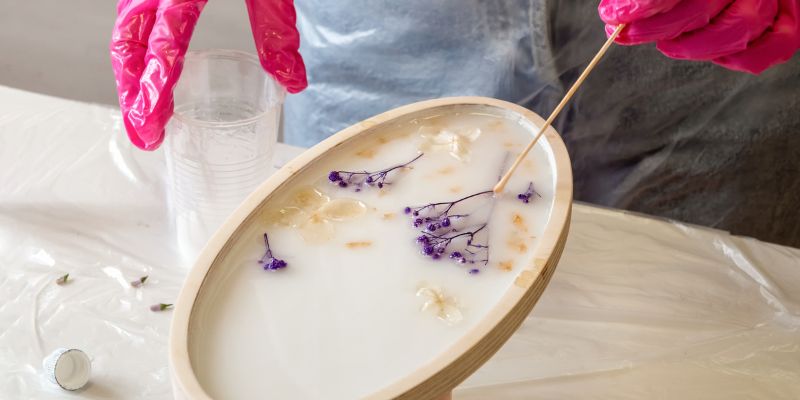
So, you’ve been bitten by the resin bug. Your Pinterest board is full, your pigments are calling—and you’re ready to pour.
But hang on! Before you dive into your first ocean tray or flower-filled keychain, it’s good to know that resin has a reputation for being… well, a little dramatic. From unexpected bubbles to heartbreak-worthy cracks, there are plenty of ways a project can go sideways.

10 most common resin art mistakes beginners
1. Mixing Ratios: The Sticky Situation
The Mistake:
Guessing your resin-to-hardener ratio or eyeballing it. This is the #1 cause of sticky or uncured pieces.
Fix It:
Always follow the ratio on the label—some are 1:1, others 2:1. Use measuring cups with clear markings and combine by volume, not weight, unless stated otherwise.
2. Poor Mixing Technique
The Mistake:
You mixed it for like… 30 seconds and thought “Good enough!” Spoiler: it’s not.
Fix It:
Stir for at least 3–4 minutes, scraping the sides and bottom of your cup. Don’t whisk—slow, deliberate stirring reduces bubbles and ensures the resin cures properly.
3. Working in the Wrong Temperature
The Mistake:
Resin hates extremes. Too cold? It thickens. Too hot? It cures too fast—or worse, flashes and smokes.
Fix It:
Keep your workspace between 70–75°F (21–24°C). Warm up the resin bottles in hot water (sealed!) if your room’s too chilly.
4. Bubbles, Bubbles Everywhere
The Mistake:
You poured your resin and saw an explosion of tiny bubbles. Not the look you were going for.
Fix It:
After pouring, use a heat gun or torch (briefly!) to pop surface bubbles. Also, stir slowly during mixing to avoid adding air. Pouring from low height helps too.
5. Overloading with Pigment or Inks
The Mistake:
You wanted bold color, so you dumped half the bottle of pigment into the resin.
Fix It:
Stick to 6% or less pigment by volume. Too much pigment disrupts curing and causes soft or bendy pieces.
6. Pouring Too Deep (All at Once)
The Mistake:
You poured a thick layer thinking it would save time… and now it’s warped, cracked, or still tacky.
Fix It:
For deep projects, pour in layers. Most resins work best in 1/4 to 1-inch increments. Let each layer cure before adding the next.
7. Dust, Hair, and Debris – Oh My
The Mistake:
Your glossy finish is ruined by a sneaky speck of dust or a floating hair strand.
Fix It:
Wipe your workspace down first. Cover curing pieces with a clean plastic box or lid to protect them from dust bombs.
8. Not Using a Level Surface
The Mistake:
You left your tray to cure on a slightly slanted table—and now one side is thicker than the other.
Fix It:
Use a resin leveller before you pour. Check with a bubble level tool and prop your piece up using pyramid raisers if needed.
9. Rushing the Cure Time
The Mistake:
You de-molded your piece early and now it’s warped or full of fingerprints.
Fix It:
Patience, artist! Follow the brand’s curing time—usually 24 to 72 hours. Let it fully harden before sanding, drilling, or sealing.
10. Skipping Safety Gear
The Mistake:
No gloves, no mask, resin on your hands, fumes in the air. Not ideal.
Fix It:
Always wear nitrile gloves, work in a well-ventilated area, and use a respirator mask for big pours. Safety = longevity (for both your art and your lungs).
Master Resin, One Mistake at a Time
Here’s the truth: resin mistakes happen—even to people who’ve been pouring for years. The key is knowing what went wrong, learning from it, and keeping your creative spirit intact.
Whether it’s a bubble in your bookmark or a warped tray, each misstep is part of the process. Now that you know the top resin art mistakes and how to fix them, you’re already one step ahead.
Ready to pour smarter? Stock up on beginner kits, bubble-zapping heat tools, and clean-up gear right here at Tulsi Resin—because your art deserves better than sticky surprises.


Resin Coating vs Casting: How to Master Both and When to Use Each One
Product by Rutha Misra