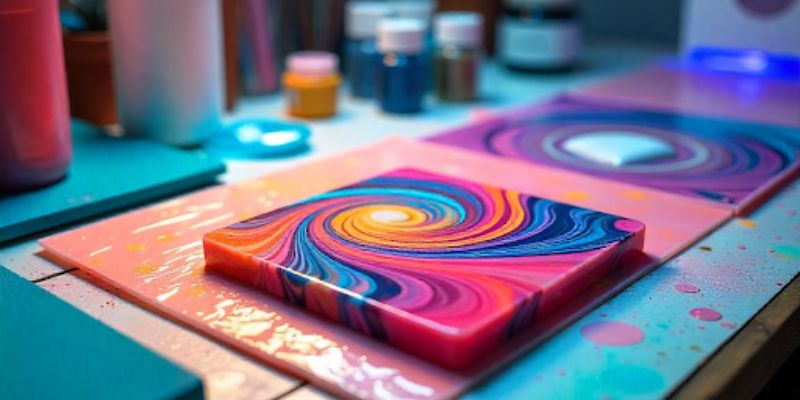
Resin art is all about that glossy, glass-like finish that screams perfection. But, if you’ve ever found random dust particles crashing your masterpiece’s vibe, you’re not alone. Whether you're a rookie experimenting with your first coaster set or an expert crafting a resin table, keeping your art dust-free is the challenge. Fear not, we’ve got you covered with a dust-busting guide that’ll make your resin shine as bright as your creativity.

Dust: Friend or Created Enemy of Resin Art
Dust will settle onto your resin surface during curing time and create bumps, uneven textures, or blemishes. It is during the curing time that the resin hardens and becomes strong, so it's that particular phase when dust should shield. The time taken for curing depends on the type of resin:
-
2:1 Yupoxy Fast Cure: Touch dry in 3-5 hours, with a full cure in 6-8 hours. Best for quick projects like ocean waves and coloured castings.
-
3:1 Art Epoxy: Touch dry in 8-12 hours, fully cured in 24-36 hours. Best for deep pours and silicone mould casts.
During curing, make sure to cover them, minimize air movement, and keep dampness levels below 65% for a perfect finish.
Here are suggestions on how to stomp out dust and keep your resin art as clear as your vision.
The Ultimate Guide to Resin Art Free of Dust
1. Prep Your Workspace Like a Pro
-
Beginners: Begin with a fully cleaned room. Clear the work surface of debris and vacuum the floor at least one hour before starting. Avoid sweeping; it stirs up dust.
-
Experts: Set up a proper resin workspace. Use an air purifier to reduce the dust; double-layer those silicone mats to make clean-ups easier.
2. Let's Get Prepared!
-
Beginners: Use gloves, a mask, and silicone mats. Set up some drip sheets to catch dust and tilt the glasses or set them on a riser to keep them off the ground and from dust.
-
Experts: Spice up your workspace by bringing in heat guns, and anti-static cloths. Use drip sheets and risers to keep dust from settling on your artwork. You can make a temporary dust shield with a plastic cover.
3. Pouring Like a Boss
-
Beginners: Pour slowly in layers to minimize the amount of air bubbles. During the pouring, carefully wipe up visible dust with spatulas or wooden sticks.
-
Experts: Pour cleanly. Tools such as heat guns can help pop any air bubbles and enable a smooth, dust-free finish. Pay attention to prevent any dust contamination by good workspace management.
4. Protect While Curing
-
Beginners: Use a plastic container or a big cardboard box to cover your resin. Do not disturb it until it's cured.
-
Experts: Use clear acrylic glasses or acrylic boxes to shield your resin projects. This allows you to monitor the curing process while protecting your artwork from dust. Acrylic covers are handy as they allow you to see your piece without hindering its protection.
The Science of a Dust-Free Finish

Dust generally accumulates as a result of disturbances in the surrounding environment, airborne particles, and a poorly managed workspace.
Concentrate your efforts on these essentials to attain a dust-free finish:
-
Clean the Workspace: Vacuuming the floors, wiping the surfaces, and using air purifiers to start are good ideas to keep dust away from your working area.
-
Cover Properly: Use transparent acrylic covers or boxes to collect resin and do not disturb the airflow while the resin cures.
-
Minimize Airflow: Not suggested to disturb air minimally through fans or opened windows while curing, dust can truly carry through.
Temperature and moisture indirectly affect the curing (more like cloudiness or air bubbles), they are not the real suspects concerning dust. For that perfect finish, dust control combined with clean surfaces in the workspace is more important than equal temperature.
Conclusion: Shine On, Dust-Free
Creating dust-free resin artwork doesn't have to feel daunting. Proper preparation, correct tools, and a little patience will enable effort from dusty disasters to high-gloss masterpieces for your resin projects. Be it bending towards your first DIY project or creating art suitable for galleries, Tulsi Resin has tools and products to help you along the way.
Ready to take resin art to the next level? Check out our full range of resin supplies and start creating your dream pieces today!
How to Calculate the Resin Amount You’ll Need with Resin Calculator
Why 3:1 Epoxy Resin is the Most Preferable Resin by Artists