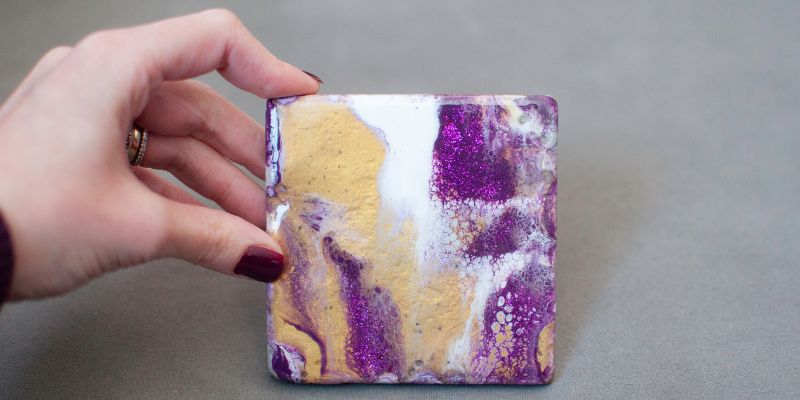
Here's what happens: You've brought your time, effort, and creativity only to find ugly, unwanted patches marring your glossy masterpiece of a resin art project. Isn’t that frustrating? Thankfully, such imperfections are fixable, and most of the time, they happen for reasons you can take care of. Let's break down what's causing them and shed light on how you can fix (or better, avoid) them like a pro!
What Are Unwanted Patches in Resin Art?

Unwanted patches are those annoying imperfections—cloudy spots, dull areas, or uneven surfaces—that can make your project look unfinished. They often appear when the resin isn't adhering properly after something interrupts the curing process. Don't worry, though—these are common issues, and with the right knowledge, you'll be able to get rid of them.
Common Causes of Unwanted Patches
1. Dust and Debris
Your resin might look clean in the beginning, but a single dust particle can get lost somewhere in the coating process and create bumps or cloudy spots—like the glitter you were not expecting!
2. Improper Mixing
An incorrect resin-to-hardener ratio or incomplete stirring of the mixture means patches have virtually guaranteed an appearance; unmixed pockets create areas that don't cure evenly, causing sticky spots.
3. Uneven Surface
Resin is akin to water: It flows and settles wherever it pleases if the surface level isn't the same as that of a surface area that is level. This can, in turn, lead to pooling or thin areas.
4. Environmental Factors
High humidity, poor ventilation, or extreme temperatures can cause issues with the curing process, leaving dull or patchy results.
5. Oil or Moisture on the Base
Fingerprints, oil, or even a tiny amount of moisture on your base can repel resin, causing it to separate and leave behind unwanted gaps.
How To Fix Unwanted Patches Like a Pro

1. Sand and Recoat
In most cases, the answer is very simple: sand down the patch area with fine-grit sandpaper and apply one more coat of the resin. This smoothes out any unevenness and fills in gaps.
2. Pop Bubbles with Heat
If you have patches because of trapped air bubbles, use a heat gun or torch to pop them as the resin cures. This is a great job for some very nice finishes.
3. Level Your Surface
Before you even start, ensure that your work area is level. A spirit-level tool is the very best friend to have at this moment.
4. Keep It Clean and Covered
You need to work dust-free. Cover your project while it cures. Use a clean box or dome to keep particles away.
5. Prep Your Base
Clean your base with rubbing alcohol to remove oils, dust, or fingerprints before pouring resin. This way, a perfect surface is created for adhesion.
6. Control Your Environment
Resin loves a stable environment: keep the temperature around 75°F (24°C) and avoid working in humid environments. If necessary, use a dehumidifier to keep moisture levels in check.
How to Prevent Patches from Happening in the First Place
- Religiously Follow Instructions: Maintain the resin-to-hardener ratio and mix times in a perfect way.
- Mix Slowly and Thoroughly: Stir for at least 3-5 minutes to eliminate any unmixed pockets.
- Seal Porous Surfaces: If working with wood or another porous base, seal with a thin layer of resin or primer before the main pour.
- Try a Little Test First: Sampling a little batch could spare you from committing yourself to a major disaster on larger projects.
Why Tulsi Resin Is a Game-changer
Fact: not every resin is the same. Premium resin, for instance, like that from the Tulsi Resin Store minimizes the chances of any kind of patches forming. With easy-to-follow guidance, beginner-friendly tools, and the finest quality materials, Tulsi Resin makes it easy as pie for anyone to get that immaculate result. From casting resins to pigments to other necessary accessories, they have everything to materialize the creative project of your dreams.
Don't wait anymore! Make your way through to the Tulsi Resin Store and navigate with confidence while working with some of the finest materials. You've got this! Happy reining!


Types of Epoxy Resin: Key Differences and How to Select the Right One for Your Needs
Why Does Resin Turn Yellow? Common Mistakes and Prevention Techniques